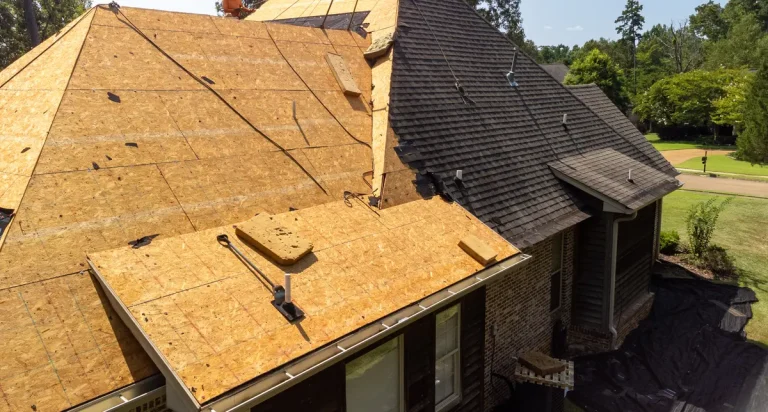
Roof leak repair is one of the most time-sensitive maintenance tasks a homeowner will face, and getting to it fast makes the difference between a minor fix and a major restoration bill. When it comes to maintaining your home, one of the most critical tasks is ensuring your roof is in top condition. A small leak can quickly turn into a significant problem if left unattended, leading to costly repairs and potential damage to your home’s interior. This guide walks Pittsburgh-area homeowners through everything you need to know about roof leak repair, from spotting early signs to executing quick fixes and knowing when to call a professional.
- 6 signs of a roof leak: Visible and hidden indicators every homeowner should know.
- Common causes and prevention: What creates leaks in the first place and how to stop them.
- Quick fixes, costs, and pro help: DIY techniques, current Pittsburgh pricing, and when to call a contractor.
Common Causes of a Roof Leak
Roof leaks develop from a range of causes, and knowing which factor is most likely responsible on your home helps you plan the right fix. The most common leak causes span aging materials, weather damage, installation issues, and drainage problems.
- Aging Roofs: Over time, roofing materials can deteriorate, leading to cracks and holes.
- Weather Damage: Harsh weather conditions, such as heavy rain, snow, hail, and strong winds, can damage roofing materials and create leaks.
- Poor Installation: If your roof was not installed correctly, it might be prone to leaks.
- Clogged Gutters: Gutters that are clogged with leaves and debris can cause water to back up and seep under the roof.
- Missing or Damaged Shingles: Shingles can become loose or damaged due to various factors, including wind and falling debris.
- Flashing Issues: Flashing is used to seal areas where the roof intersects with other structures, like chimneys and vents. Damaged or improperly installed flashing can lead to leaks.
6 Signs You Have a Roof Leak
Identifying a roof leak early can save you from extensive damage and costly repairs. Look out for these six common signs, ranging from obvious visible clues to subtle warnings that only become clear after weeks of moisture buildup.
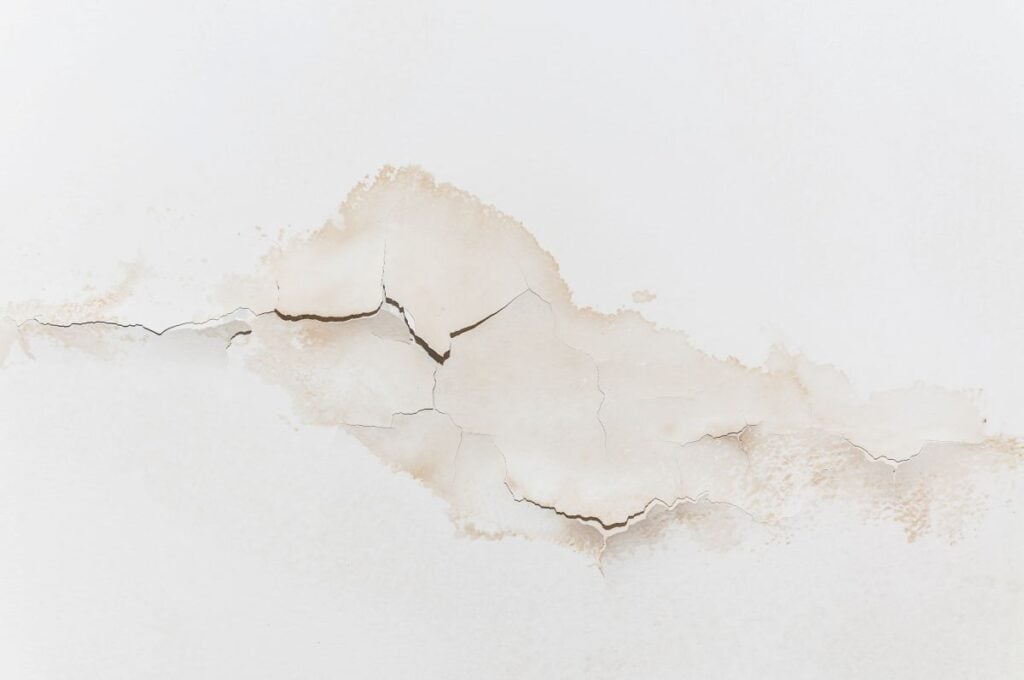
1. Water Stains on Ceilings and Walls
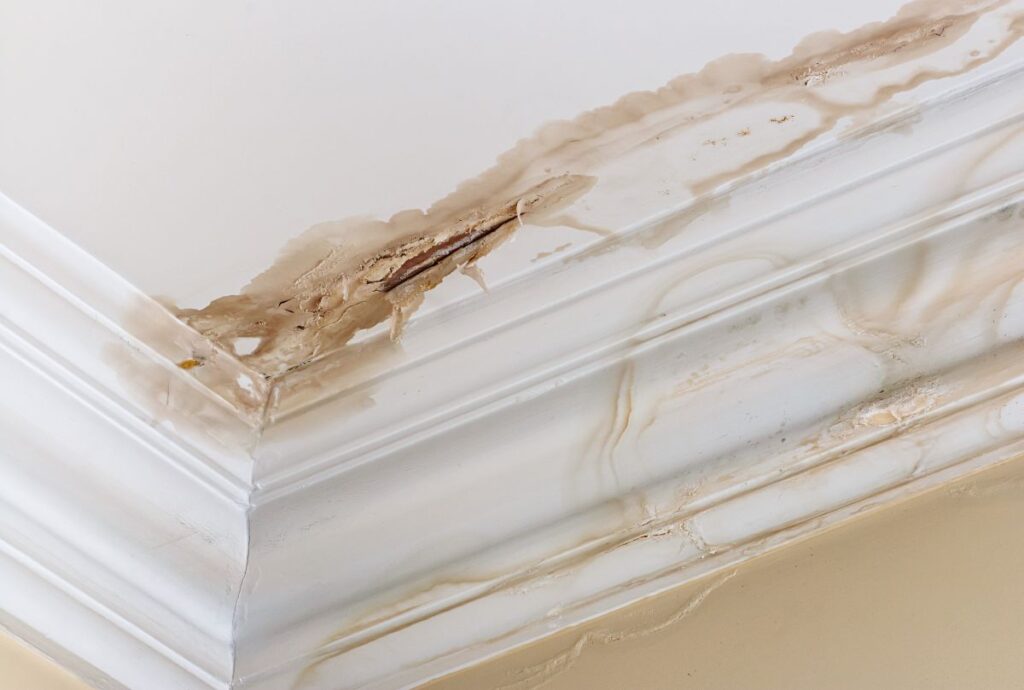
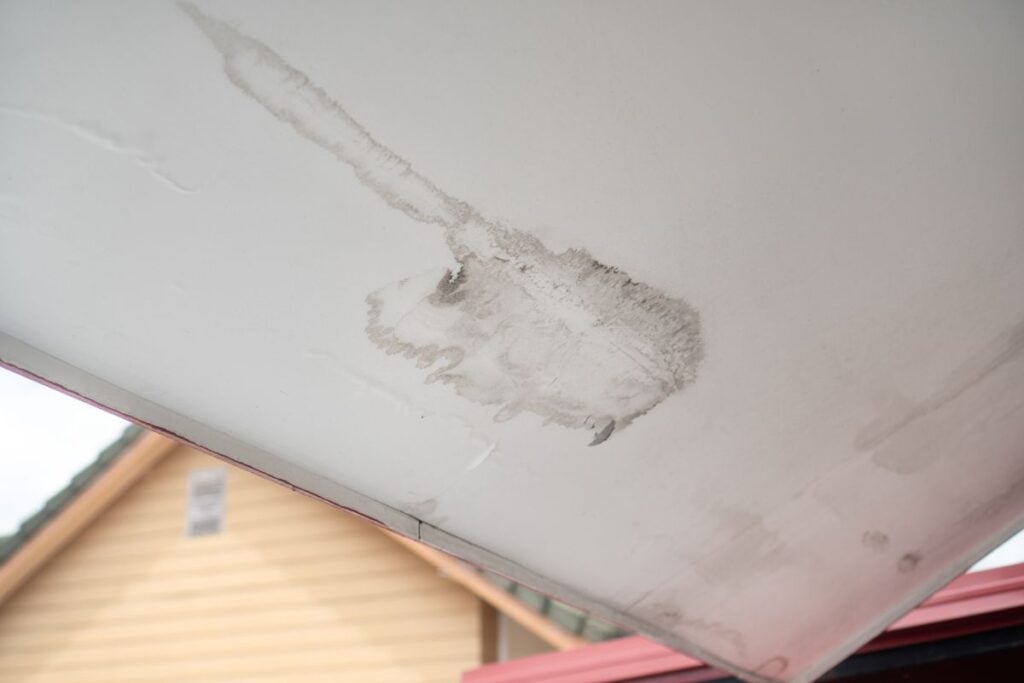
Water stains are the most common visible sign of a roof leak and appear as brownish or yellowish discolored patches on ceilings and walls. These stains form as water travels along ceiling joists or wall framing before soaking through drywall or plaster. Stains can appear directly below the leak source or many feet away, since water often tracks along a beam or truss before finding a path through the finish surface.
- Color: Brown or yellowish tint indicates aged, mineral-heavy water infiltration.
- Ring shapes: Concentric rings suggest repeated wetting and drying cycles from multiple leak events.
- Travel path: Stains may appear far from the actual leak source due to water tracking along framing.
- Location clues: Ceiling stains often indicate roof leaks, while wall stains may point to flashing, window, or siding issues.
2. Actively Dripping Water
Water actively dripping from the ceiling is the most obvious and urgent sign of a roof leak, and it typically indicates that the leak has reached advanced stages. By the time water reaches the interior in droplet form, the roofing membrane, underlayment, and drywall or plaster have all been compromised. Take immediate action to contain the water, move belongings, and call a professional right away.
- Storm timing: Dripping during or immediately after rain confirms an active leak.
- Continuous drip: Ongoing dripping after rain stops suggests trapped water in insulation.
- Container placement: Position buckets or containers to catch water and prevent floor damage.
- Immediate action: Move furniture and belongings out of the drip zone right away.
3. Mold and Mildew Growth
Mold and mildew thrive in the damp environments created by roof leaks and can appear on ceilings, walls, attic insulation, or in air ducts. Mold growth is not just cosmetic — it presents serious health risks, particularly for people with asthma, allergies, or compromised immune systems. Any visible mold on ceilings or walls indicates enough moisture accumulation to require immediate leak investigation.
- Visual appearance: Black, green, or white fuzzy patches on ceilings, walls, or attic surfaces.
- Health risk: Aggravates asthma, allergies, and respiratory conditions.
- Attic inspection: Check attic insulation and rafters for hidden mold growth.
- Professional remediation: Extensive mold requires specialized removal beyond DIY cleanup.
4. Missing or Damaged Shingles
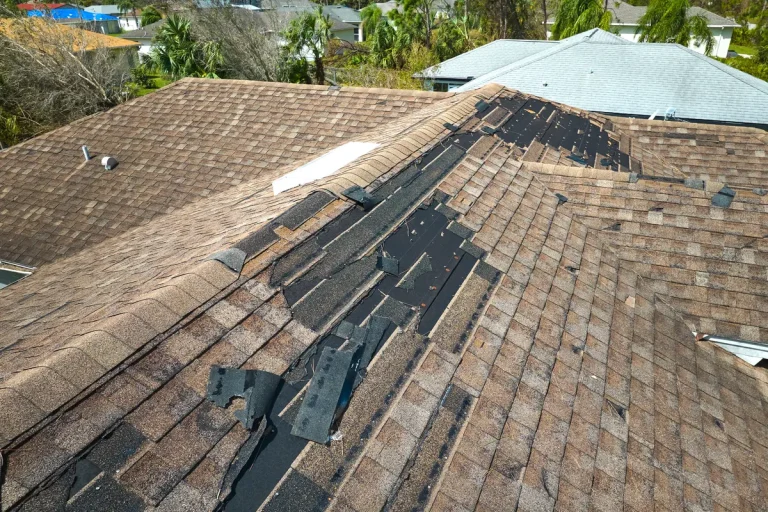
Missing, cracked, curled, or lifted shingles are among the most visible external signs of a roof problem that can lead to leaks. Even a single missing shingle exposes the underlayment and roof deck to direct water infiltration during the next storm. Regularly inspect your roof from ground level with binoculars, and after every major storm, to catch shingle damage before it becomes an interior problem.
- Missing shingles: Exposed underlayment or roof deck visible from ground level.
- Curled or lifted edges: Aged shingles that no longer seal properly against wind and rain.
- Granule loss: Bare or shiny patches indicate advanced shingle wear.
- After storms: Inspect within 48 hours of any severe wind or hail event.
5. Musty Odors
A persistent musty smell in certain areas of your home may indicate the presence of mold or mildew due to a hidden roof leak, often before any visible signs appear. These odors are typically first noticed in attics, upper-floor closets, or rooms directly under leak-prone areas of the roof. Musty odors that intensify after rain are a particularly strong indicator of active water infiltration somewhere in the roofing system.
- Attic first: Musty odors often start in the attic before spreading through the home.
- Post-rain intensification: Odors that worsen after rain confirm active moisture.
- Upstairs concentration: Musty smells in upper floors point to roof-level issues.
- HVAC circulation: Central HVAC systems can spread musty air throughout the house.
6. Sagging Roof Deck or Attic Damage
A visibly sagging roof deck, sagging ceiling, or bowed drywall indicates that water damage has progressed to the structural components of the roof system. This is one of the most serious signs of a roof leak because it means the underlying decking, joists, or trusses have absorbed enough water to lose structural integrity. Any sagging warrants immediate professional inspection to prevent further damage or collapse.
- Visible sag: Sagging ceilings, roof lines, or drywall indicate structural damage.
- Soft spots: Attic decking that feels soft or spongy underfoot signals rot.
- Warped rafters: Bowed or twisted rafters visible from the attic.
- Emergency response: Sagging warrants immediate professional inspection and evacuation of the area below.
Preparing for Roof Leak Repair
Before you begin any roof leak repair, it’s essential to prepare adequately. Taking the right steps upfront makes the actual repair safer, faster, and more effective.
Safety First
Safety should be your top priority when working on your roof. Falls from roofs remain one of the leading causes of serious injury in home maintenance, and Pittsburgh’s wet weather adds additional risk. Follow these safety practices any time you access your roof.
- Use Proper Safety Gear: Wear non-slip shoes, a safety harness, and a hard hat.
- Ensure Stable Ladder Placement: Make sure your ladder is on stable ground and securely positioned.
- Avoid Wet Conditions: Do not attempt to repair your roof during wet or windy weather.
- Work with a Buddy: If possible, have someone assist you or at least be nearby to provide help if needed.
Gather Necessary Tools and Materials
Having the right tools and materials on hand will make your roof leak repair more manageable and reduce trips up and down the ladder. Assemble your kit before you start climbing.
- Roofing nails
- Hammer
- Roofing cement
- Putty knife
- Replacement shingles
- Flashing
- Roofing tape
- Ladder
- Safety harness
- Gloves
- Measuring tape
- Utility knife
Inspect the Roof
Before you start the repair, thoroughly inspect your roof to locate the source of the leak. This step is crucial for ensuring that you address the root cause of the problem rather than just treating the symptoms, which can lead to repeated failure at the same spot.
- Attic inspection first: Trace water stains and follow the trail upward.
- Roof surface check: Look for missing, damaged, or curled shingles from the roof surface.
- Penetration areas: Pay special attention to chimneys, vents, skylights, and roof valleys.
- Document findings: Photograph the damage for insurance and repair reference.
Quick Fixes for Common Roof Leaks
Once you have identified the source of the leak, several quick fix techniques handle the majority of common roof leak scenarios. These techniques work for straightforward, accessible leaks on low-slope or moderately pitched roofs.
Identify the Source of the Leak
The first step in any roof leak repair is to identify the source of the leak so your fix targets the actual problem. Follow these steps to locate the origin.
- Inspect the Attic: Use a flashlight to inspect the attic for signs of water damage, such as stains or damp insulation. Follow the trail of water to locate the leak’s origin.
- Check the Roof Surface: From the outside, inspect the roof surface for missing, damaged, or curled shingles. Pay special attention to areas around chimneys, vents, and skylights.
- Examine Flashing and Seals: Check the flashing around chimneys, vents, and skylights for any signs of damage or gaps.
Temporary Fixes
If you need a quick temporary fix before conducting a more permanent repair, these options buy time until a full repair can happen. Temporary fixes should never replace proper repair, but they can prevent additional interior damage.
- Roofing Tape: Apply roofing tape over small cracks or holes for a temporary seal.
- Roofing Cement: Use roofing cement to patch small holes or gaps. Apply it with a putty knife and press it firmly into place.
Replace Damaged Shingles
If you have identified damaged or missing shingles, follow these steps to replace them properly and restore the water barrier.
- Remove the Damaged Shingle:
- Use a pry bar or hammer to lift the edges of the surrounding shingles.
- Remove the nails from the damaged shingle and slide it out.
- Prepare the New Shingle:
- Cut the new shingle to match the size of the one being replaced.
- Slide the new shingle into place and align it with the surrounding shingles.
- Secure the New Shingle:
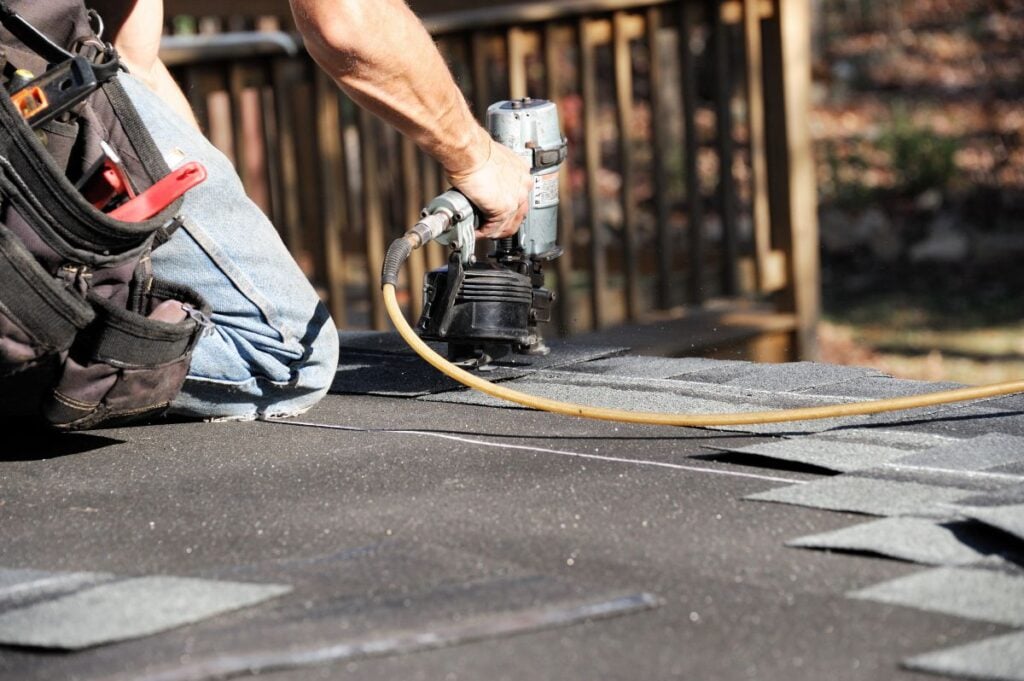
- Nail the new shingle into place, securing it with roofing nails.
- Apply roofing cement to the edges of the new shingle to ensure a watertight seal.
Repair Flashing
If the leak is due to damaged flashing, follow these steps to replace it properly. Flashing repairs are among the most common roof leak fixes.
- Remove the Old Flashing:
- Carefully remove any nails or screws securing the damaged flashing.
- Lift the old flashing away from the roof surface.
- Install New Flashing:
- Cut the new flashing to the appropriate size.
- Secure the new flashing in place using roofing nails or screws.
- Apply a generous amount of roofing cement around the edges to create a watertight seal.
Seal Joints and Seams
For leaks around joints and seams, follow these steps to seal them properly. Joint and seam leaks often develop as older sealants dry out and crack.
- Clean the Area: Remove any debris, dirt, or old sealant from the affected area.
- Apply Roofing Cement: Use a putty knife to apply a layer of roofing cement over the joint or seam. Press the cement firmly into place and smooth it out.
- Reapply Shingles: If applicable, reattach any shingles that were removed during the sealing process.
Prevent Future Leaks
Taking preventive measures can help protect your roof from future leaks and extend the life of your roofing system.
- Regular Inspections: Conduct regular inspections of your roof and attic to catch potential issues early.
- Clean Gutters: Keep your gutters clean and free of debris to prevent water buildup.
- Trim Overhanging Branches: Trim any tree branches that hang over your roof to reduce the risk of damage from falling limbs.
- Check Flashing: Periodically check the flashing around chimneys, vents, and skylights for signs of wear.
When to DIY vs. Call a Professional
Not every roof leak is a good candidate for DIY repair, and knowing where the line falls saves homeowners from wasted effort, warranty problems, and safety risk. Some fixes are truly DIY-appropriate for handy homeowners, while others require a licensed roofing contractor.
- DIY-appropriate: Small localized leaks on low-slope, accessible roofs, minor shingle replacements, and temporary emergency patches.
- Professional required: Leaks around chimneys, skylights, or complex flashing details where mistakes create larger failures.
- Steep roof access: Any leak requiring access to a roof with a pitch above 6/12 is a professional-only job for safety reasons.
- Structural damage: Sagging decking, rotted rafters, or interior mold require professional assessment and repair.
- Warranty concerns: DIY repairs on newer roofs can void manufacturer warranties, so check your warranty terms first.
- Insurance claim leaks: Damage from storms or covered events should be inspected by a professional to document the claim properly.
If you are not completely confident in your ability to identify the leak source, safely access the roof, and execute a repair that will hold up, calling a professional is almost always the better choice.
Cost of Roof Leak Repair in Pittsburgh
Roof leak repair cost varies widely based on the leak location, severity, and required materials. Understanding the typical price ranges helps you budget appropriately and evaluate contractor estimates fairly.
- Minor repairs: $150 to $500 for small leak fixes, isolated shingle replacement, or simple flashing patches.
- Moderate repairs: $500 to $1,500 for larger repair areas, chimney flashing rebuilds, or valley repairs.
- Major repairs: $1,500 to $5,000 or more for extensive shingle replacement, decking repair, or multiple leak sites.
- Emergency service: After-hours or weekend emergency response typically adds $200 to $500 to standard pricing.
If your roof leak repair estimate exceeds 30 percent of the cost of a full roof replacement, it is worth having a contractor evaluate whether replacement is the more cost-effective long-term option.
Frequently Asked Questions
How much does roof leak repair cost in Pittsburgh?
Roof leak repair in Pittsburgh and surrounding areas typically costs $150 to $500 for minor repairs, $500 to $1,500 for moderate repairs, and $1,500 to $5,000 or more for major repairs involving structural damage or multiple leak sites. Emergency after-hours service typically adds $200 to $500 to standard pricing.
Can I fix a roof leak from inside the house?
Interior patches from inside the house can slow water infiltration temporarily but do not fix the actual leak source on the exterior of the roof. Interior fixes should only be used as a stopgap while waiting for a professional exterior repair or during severe weather when roof access is unsafe.
Does homeowners insurance cover roof leak repair?
Homeowners insurance typically covers roof leak damage caused by sudden events like storms, hail, wind, or fallen trees, but excludes damage from age-related wear, poor maintenance, or gradual deterioration. Filing a valid claim requires prompt reporting, dated photos, and often a NOAA storm event report.
How do I stop a roof leak temporarily?
Temporary roof leak fixes include tarping the exterior with weighted or secured plastic sheeting, applying roofing cement to obvious cracks, and using roofing tape over small holes. Interior stopgaps include placing buckets, poking a controlled drainage hole in bulging drywall, and moving belongings out of the drip zone.
Should I repair or replace my leaking roof?
Repair generally makes sense for isolated leaks on newer roofs (under 15 years old) with sound overall condition. Replacement makes more sense when the roof is over 20 years old, has multiple leak sites, has extensive shingle damage, or when repair costs approach 30 percent of replacement cost.
We Fix Your Leaking Roof
Roof leak repair may seem daunting at first, but with the right knowledge and tools, small repairs are within reach for many homeowners. Remember that safety is paramount, so always take the necessary precautions when working on your roof. If you’re unsure about any aspect of the repair or if the damage is extensive, don’t hesitate to seek professional help from a roofing contractor.
Let us fix your leaky roof for good! Contact McCormick Renovations for roof leak repair you can count on across Pittsburgh and surrounding areas.