Roof ventilation is one of the most overlooked systems in a typical home, even though it directly affects energy bills, ice dam risk, shingle lifespan, and indoor air quality. A poorly ventilated attic traps heat in summer and moisture in winter, which silently shortens the life of the roof from below while driving up the cost of running the HVAC system. This guide breaks down eight specific, proven ways to improve airflow through your attic, what each one costs, and how to know which combination is right for your home.
- Why airflow matters: How attic ventilation affects your roof, your bills, and your indoor air.
- Eight specific upgrades: From soffit vents to balanced systems, each method explained in detail.
- Selection guidance: How to assess your current setup and choose the right combination.
Why Roof Ventilation Matters
Roof ventilation is a balanced system of intake and exhaust vents that allows fresh air to flow through the attic, carrying away heat and moisture. The system protects roofing materials, reduces energy costs, and maintains healthier indoor air, and the impact compounds over the life of the roof.
How Does Ventilation Affect Energy Bills and Roof Life?
Ventilation affects energy bills by removing trapped heat that would otherwise radiate into the living space, and it affects roof life by keeping shingles, sheathing, and framing dry. Attic temperatures in poorly ventilated homes can hit 150°F or more on a summer afternoon, which radiates into the rooms below and forces air conditioning to run longer. In winter, warm moist air from the living space migrates into the attic, where condensation forms on cold sheathing and feeds mold growth. Homeowners in Pittsburgh and surrounding areas often see both problems back to back across a single year.
- Summer cooling load: Hot attics drive up air conditioning runtime and bills.
- Winter moisture damage: Trapped moisture rots sheathing, ruins insulation, and feeds mold.
- Shingle lifespan: Excessive heat and moisture accelerate shingle aging.
- Ice dam prevention: Cool, even attic temperatures stop the freeze-melt cycle that drives ice dams.
8 Ways to Improve Roof Ventilation
Each of the eight methods below addresses a specific weakness in attic airflow, and most homes benefit from a combination rather than a single fix. Read through each section to understand which improvements match your situation, and pay attention to the order, since balance and intake usually matter more than adding more exhaust.
1. Add or Upgrade Soffit Vents
Soffit vents are intake vents installed under the eaves, and they are the foundation of any well-functioning ventilation system. Without enough intake at the eaves, exhaust vents at the ridge cannot pull fresh air through the attic, no matter how many you install. Continuous strip soffit vents typically deliver more net free area than individual round or rectangular vents, and they distribute intake evenly along the entire eave. Many older homes in Pittsburgh and surrounding areas have inadequate or blocked soffit venting, which is the single most common reason attic ventilation underperforms.
- Continuous strip soffits: Provide the most net free area along the entire eave.
- Individual vents: Round or rectangular vents work but deliver less total airflow.
- Insulation baffles: Required to keep attic insulation from blocking the vent path.
- Typical cost: Roughly $2 to $5 per linear foot installed for continuous soffit vents.
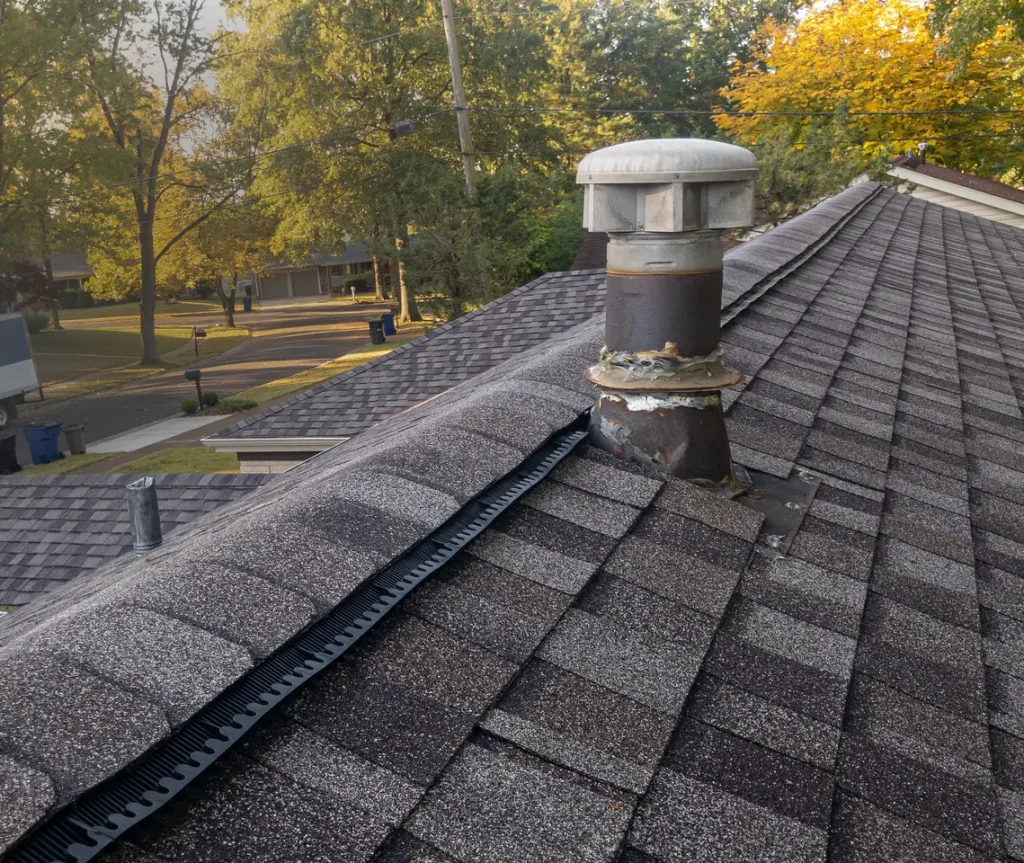
2. Install a Continuous Ridge Vent
A continuous ridge vent runs the length of the ridge and provides exhaust along the entire roof peak, which is the most effective passive exhaust option for most homes. The vent uses thermal buoyancy and the wind passing over the roof to draw warm, moist air out of the attic, while replacement air enters through the soffit vents below. Ridge vents work best when paired with adequate soffit intake, and they are far more effective than scattered roof vents on most roof geometries.
- Continuous coverage: Exhaust spread along the entire ridge for even airflow.
- Pairing requirement: Always pair with sufficient soffit intake for a balanced system.
- Typical cost: Roughly $300 to $700 installed during a re-roof.
- Limitations: Not effective on short ridges or hip roofs without enough ridge length.
3. Balance Intake and Exhaust
Balancing intake and exhaust is the single most important principle in attic ventilation, and it is also the most commonly violated. When exhaust exceeds intake, ridge vents can pull air from other roof penetrations or from the conditioned living space, which raises energy bills and can pull moisture into the attic. The fix is straightforward: add intake until soffit area equals or slightly exceeds ridge or upper-vent area. Excess intake is fine, but excess exhaust causes problems.
- Balance principle: Intake should equal or exceed exhaust net free area.
- Common mistake: Adding ridge vents without adding soffit intake.
- Mixed exhaust risk: Combining ridge vents with gable or power vents short-circuits airflow.
- Code reference: IRC R806 requires roughly equal split of intake and upper-vent area.
4. Add Gable Vents Strategically
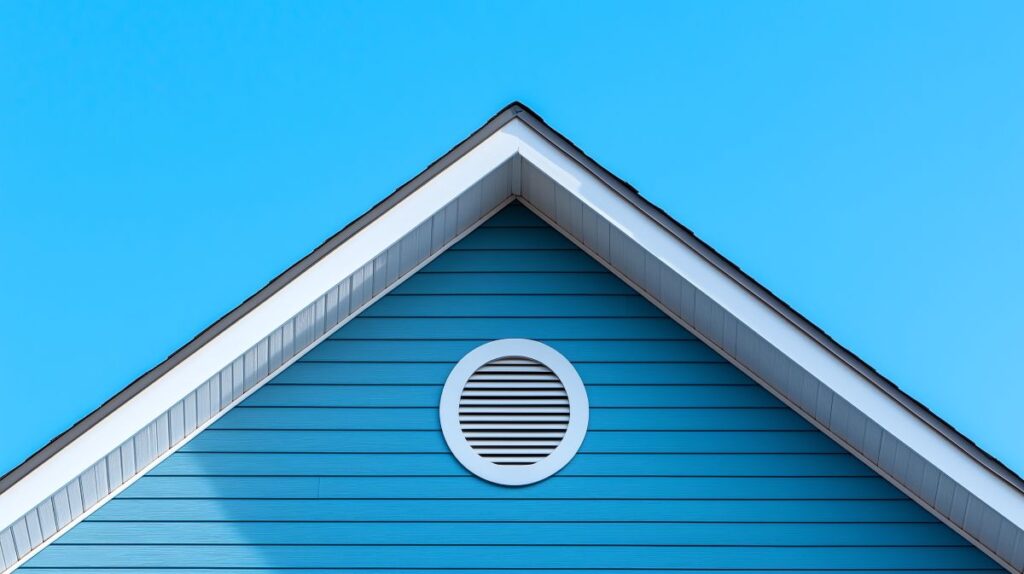
Gable vents are passive vents installed in the triangular wall at the end of an attic, and they can serve as either intake or exhaust depending on wind direction. Gable vents work best in older homes that lack ridge length suitable for a continuous ridge vent, and they should not be combined with ridge vents on the same attic, since the combination disrupts the soffit-to-ridge airflow pattern. When used alone, gable vents work well in regions with consistent wind patterns.
- Standalone use: Effective on homes without continuous ridges.
- Avoid combining: Do not pair with ridge vents on the same attic space.
- Typical sizing: Match net free area to attic size per IRC R806.
- Typical cost: Roughly $50 to $300 per vent installed.
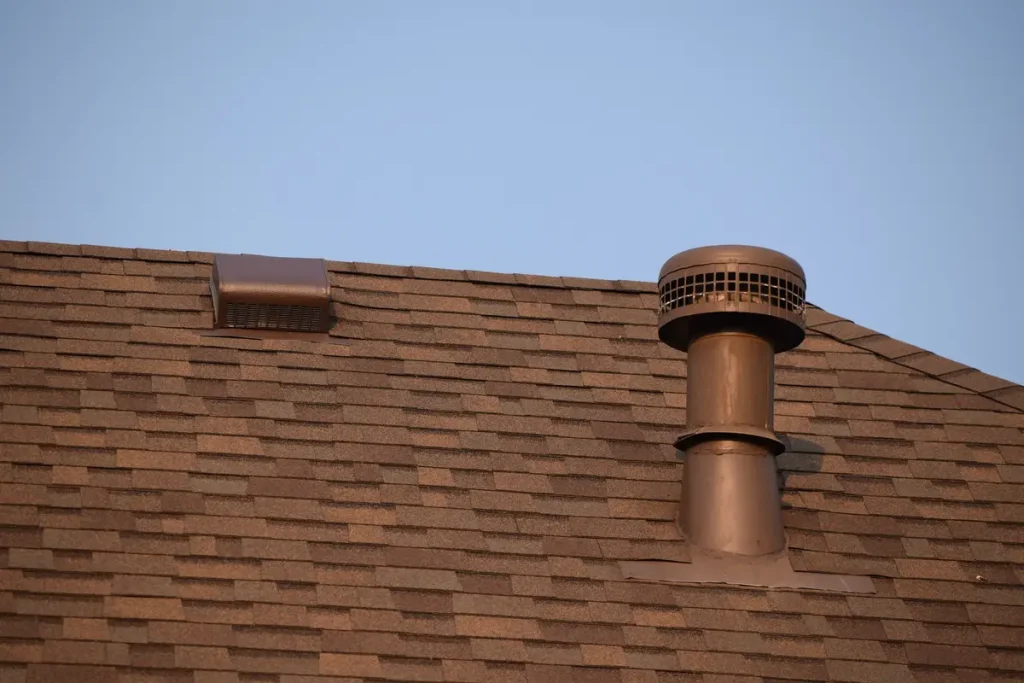
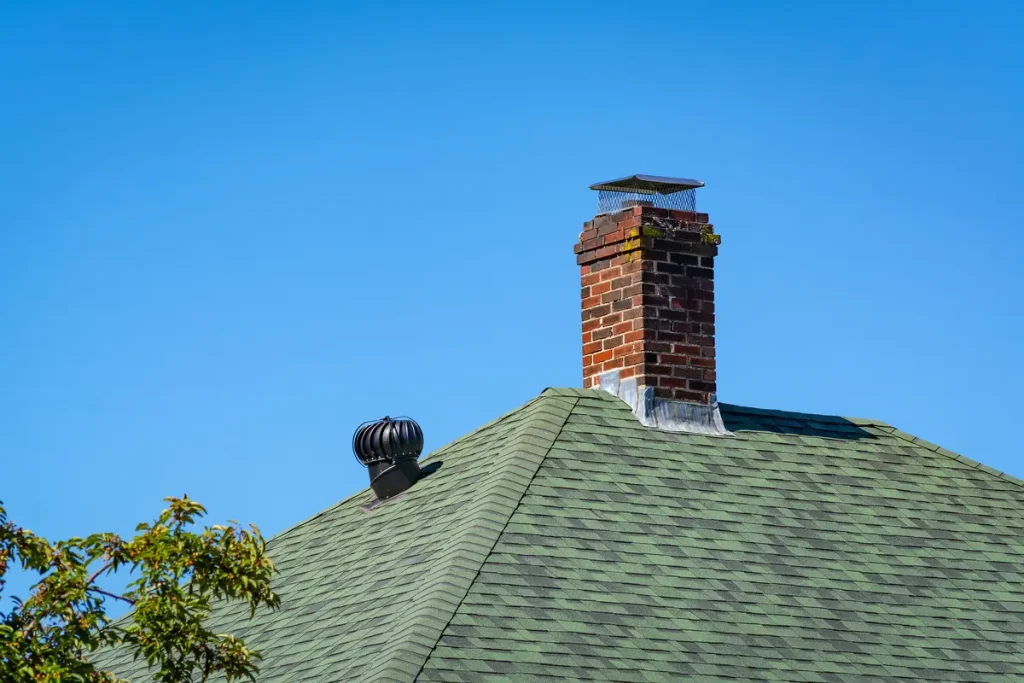
5. Install Wind-Powered Turbine Vents
Wind-powered turbine vents, sometimes called whirlybirds, use a finned cylinder that spins in the breeze to actively pull air out of the attic. They deliver significantly more airflow than static vents when wind is present, and they continue to provide modest passive ventilation when wind is calm. Turbine vents are an affordable upgrade for homes that lack adequate ridge length but still need stronger exhaust, although they introduce a moving part that requires occasional maintenance.
- Wind-driven airflow: Spinning vanes pull air actively when wind is present.
- Passive backup: Continues to vent slowly even in calm conditions.
- Typical cost: Roughly $75 to $300 per vent installed.
- Maintenance need: Bearings can fail and benefit from periodic lubrication.
6. Install Solar-Powered Attic Fans
Solar-powered attic fans use a roof-mounted photovoltaic panel to drive an exhaust fan, which provides strong active ventilation during the hottest hours of the day with no impact on energy bills. They are particularly effective for homes with limited soffit area or unusual roof geometry that makes a continuous ridge vent impractical. Modern solar fans can move 800 to 1,800 cubic feet of air per minute, which is enough to ventilate a typical attic several times per hour during peak sun.
- Free operation: Solar panel powers the fan at no ongoing cost.
- Strong airflow: 800 to 1,800 CFM common for residential models.
- Typical cost: Roughly $400 to $900 installed.
- Federal tax credits: May qualify for a portion of the Residential Clean Energy Credit.
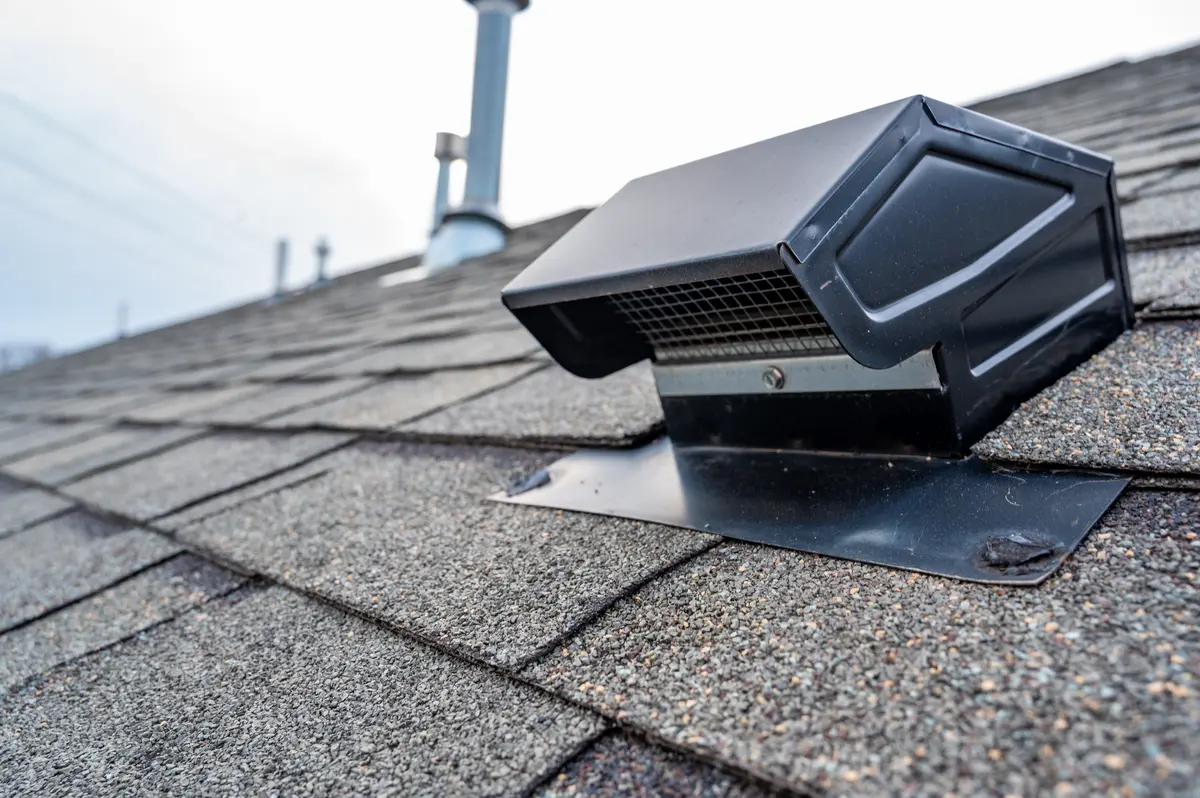
7. Install Powered Attic Fans
Powered attic fans are electric exhaust fans, often thermostatically controlled, that turn on when the attic reaches a set temperature. They deliver consistent, strong airflow regardless of wind conditions, but they consume electricity to run, and the energy cost can offset some of the cooling savings. Powered fans require careful integration with adequate soffit intake, since an undersized intake will pull conditioned air from the living space through ceiling penetrations.
- Strong, consistent airflow: Works regardless of wind or sun conditions.
- Energy use: Adds electricity cost that partially offsets cooling savings.
- Intake requirement: Must be paired with adequate soffit area to avoid pulling conditioned air.
- Typical cost: Roughly $300 to $700 installed.
8. Air Seal the Attic Floor
Air sealing the attic floor is the most overlooked ventilation upgrade, even though it dramatically reduces moisture loading on the attic and improves the performance of every other vent in the system. Recessed lights, plumbing penetrations, electrical boxes, attic hatches, and chimney chases all leak warm, moist air from the living space into the attic, where ventilation then has to remove it. Sealing those penetrations with caulk, foam, or fire-rated covers cuts moisture migration at the source and complements the ventilation system rather than competing with it.
- Typical cost: Roughly $300 to $1,500 for a thorough whole-attic air seal.
- Common leak points: Recessed lights, plumbing chases, top plates, and attic hatches.
- Sealing materials: Caulk, spray foam, fire-rated foam, and weatherstripping.
- Energy impact: Reduces winter heat loss along with moisture migration.
How Do You Choose the Right Combination?
The right combination of ventilation upgrades depends on the size and shape of your attic, the existing vents, and the specific symptoms you are seeing. Homeowners in Pittsburgh and surrounding areas should walk through a systematic assessment before adding any new components.
How Do You Assess Your Current Ventilation?
Start by counting and measuring your existing vents and comparing the total net free area to the IRC requirement for your attic floor area. Walk the attic and look for signs of poor ventilation, including dark staining on the underside of the sheathing, frost on roofing nails in winter, mold growth, and matted or wet insulation. Check the soffit area for blocked vents, paint sealing the perforations, or insulation pushed against the eave.
- Measure attic floor: Length times width gives the area for the IRC calculation.
- Inventory existing vents: Count and measure soffit, ridge, gable, and powered vents.
- Look for failure signs: Sheathing stains, mold, frost, and matted insulation.
- Check intake path: Confirm air can flow through soffits without obstruction.
What Does a Balanced System Look Like?
A balanced system has equal or slightly greater intake area at the soffits compared to exhaust area at the ridge, with no mixing of different exhaust types on the same attic. The simplest, most reliable layout for most Pittsburgh-area homes is continuous soffit vents paired with a continuous ridge vent, with all other vent types either removed or sealed off. Add air sealing at the attic floor, confirm insulation baffles maintain the soffit airflow path, and the system will perform for the life of the roof.
- Soffit-plus-ridge: The cleanest, most reliable passive system.
- No mixed exhausts: Avoid combining ridge with gable or powered vents.
- Maintained intake: Keep insulation baffles in place at every rafter bay.
- Air-sealed floor: Eliminate moisture-laden air from the conditioned space.
Frequently Asked Questions
How Much Does It Cost to Improve Roof Ventilation?
Most ventilation upgrades in Pittsburgh and surrounding areas cost between $300 and $2,500, depending on the components added and whether the work happens during a re-roof. Adding ridge vents and soffit vents during a re-roof is significantly cheaper than retrofitting after the fact.
Can Adding More Vents Cause Problems?
Yes, adding more exhaust vents without matching intake can short-circuit the system and pull conditioned air from the home, raising energy bills and creating moisture problems. Always balance intake and exhaust, and avoid mixing different exhaust types on the same attic.
Do I Need a Vapor Barrier with Roof Ventilation?
The 2021 IRC allows a reduced ventilation ratio of 1/300 instead of 1/150 when a Class I or II vapor retarder is installed on the warm side of the ceiling. Most cold-climate homes benefit from both a vapor retarder and full ventilation.
Will Better Roof Ventilation Lower My Energy Bills?
Yes, properly balanced ventilation typically lowers summer cooling costs by 5% to 15% in homes with previously poor ventilation. The savings come from lower attic temperatures and reduced HVAC runtime.
How Often Should I Inspect My Roof Vents?
Inspect roof vents at least twice per year and after major storms, looking for blockages, damage, and signs of pest intrusion. Annual professional inspections are a good idea on older homes and any home with a history of attic moisture problems.
Do I Need a Licensed Contractor for Ventilation Work?
Pennsylvania requires home improvement contractors performing work over $500 to be registered with the state Attorney General’s office. Hiring a registered, insured contractor protects manufacturer warranties, ensures code compliance, and reduces your liability if something goes wrong.
Why McCormick Renovations Is the Right Partner for Your Roof Ventilation Upgrade
McCormick Renovations brings hands-on installation experience, deep knowledge of balanced ventilation design, and a commitment to clean, code-compliant workmanship to every roof we service in Pittsburgh and surrounding areas. We diagnose the actual airflow pattern in your attic, recommend the right combination of soffit, ridge, and air-sealing work, and avoid the mixed-exhaust mistakes that quietly drive up energy bills. If you are seeing hot upstairs rooms, ice dams, or attic moisture and want a clear, no-pressure assessment backed by real numbers, reach out to McCormick Renovations today for a free estimate. Our team will inspect every vent, explain the tradeoffs, and design a roof ventilation system that protects your home for decades.


