When it comes to maintaining or repairing your home, your roof often becomes one of the most critical—and overlooked—elements. While calling a professional is always a great option for complex tasks, some homeowners and DIY enthusiasts enjoy taking on smaller projects themselves. Having the right tools not only makes the job easier but also ensures that the work is done safely and effectively.
We’ve put together this professional guide to help you understand:
- Which roofing tools are essential
- What they’re used for
- How they can make your job both safer and more efficient
Whether you’re patching a small leak, replacing shingles, or prepping your roof for winter, this guide will prepare you with everything you need.
Why Having the Right Roofing Tools Matters
Before jumping into the list of essential tools, it’s important to highlight why having the right equipment is key. Patching up a roof or replacing shingles requires precision, safety, and durability. Using improper tools can lead to incomplete repairs, unsafe conditions, or even long-term damage to your home. Proper tools:
- Help you work faster and more efficiently
- Improve the quality and durability of your repairs
- Reduce the risk of accidents or injuries
- Prevent unnecessary damage to your roof
Now, let’s explore the must-have roofing tools for both beginner and seasoned DIY enthusiasts.
10 Essential Roofing Tools for Your Next Project
Having the right tools on hand can make all the difference when tackling a roofing project. Whether you’re repairing a small leak or replacing an entire section, these essential tools will help ensure the job is done safely, efficiently, and with professional-quality results. Let’s take a closer look at the key tools you’ll need to get started.
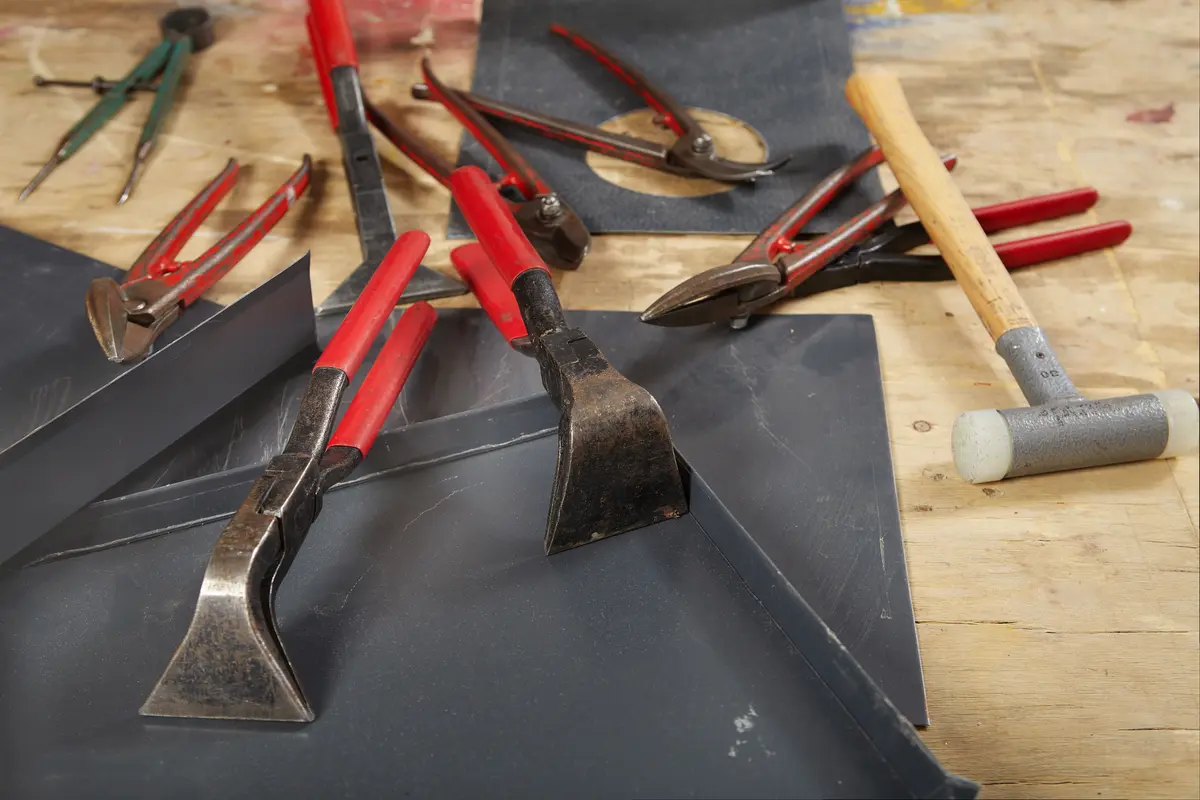
1. Roofing Hammer or Hatchet
A roofing hammer is a specialized tool designed specifically for tasks like nailing shingles or removing old nails. It often includes:
- A sharp claw for removing nails or shingles
- A magnetic head to hold roofing nails
- A gauge that helps you nail shingles at consistent spacing
For DIY roofers, this is a versatile and essential tool. If you’re working on shingle replacement, this will quickly become your go-to.
Benefits:
- Speeds up the shingle installation process
- Ensures nail spacing consistency
- Ergonomic design minimizes fatigue during long projects
Look for hammers with anti-slip grips for added safety and comfort.
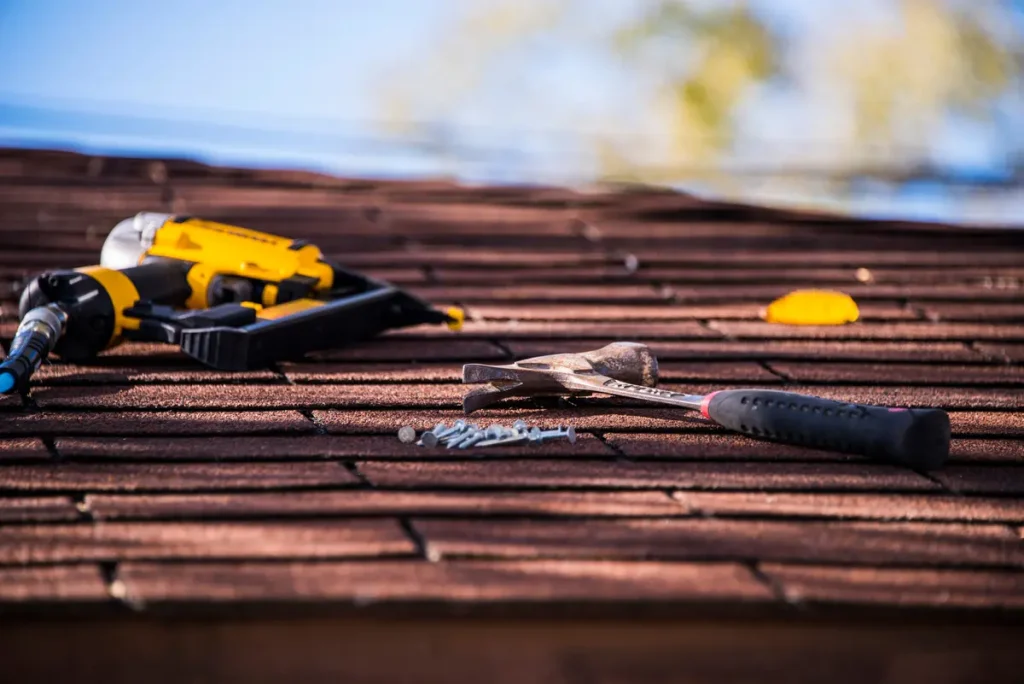
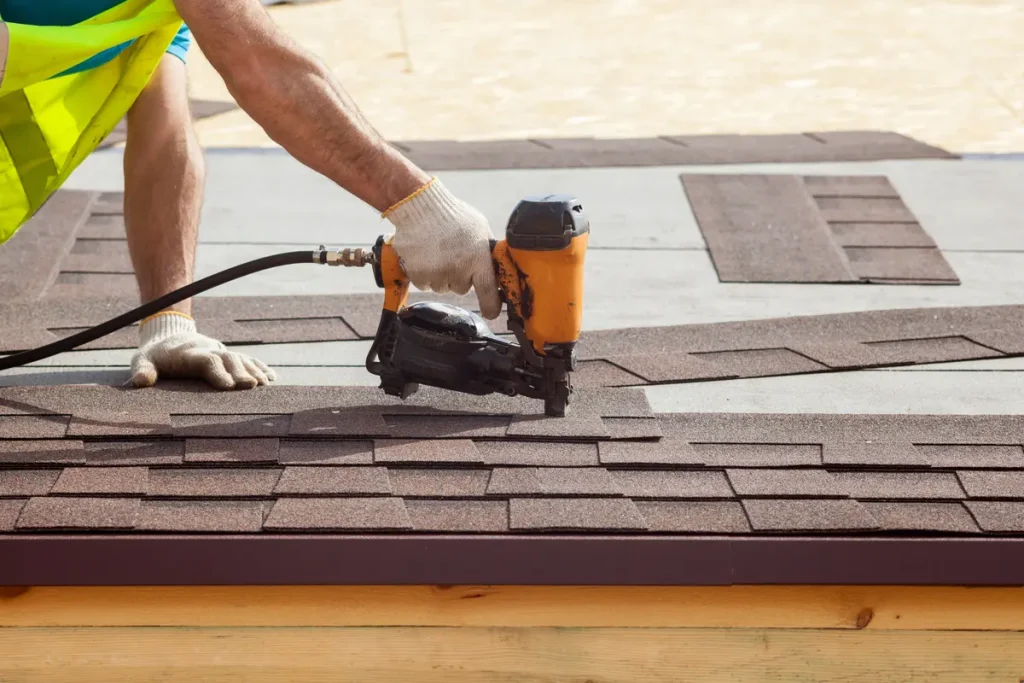
2. Roofing Nail Gun
A roofing nail gun is a game-changer for efficiency. This tool significantly speeds up the process of attaching shingles or other roofing materials. It allows you to drive nails quickly and consistently—perfect for larger projects.
Nail guns are often powered by air compressors or batteries. When selecting one, look for systems that cater to roofing nails specifically, as they ensure precision and quality.
Benefits:
- Saves significant time
- Delivers stronger and more consistent nails
- Reduces physical strain compared to manual hammering
***Pro Tip:* Be sure to pair your nail gun with the correct nails and protective eyewear to avoid mishaps.
3. Shingle Remover (Roofing Tear-Off Tool)
If you’re replacing damaged shingles, a shingle remover tool is a must. This heavy-duty tool is designed to strip away old shingles quickly and efficiently without damaging the roof deck underneath. It often features a long handle and a flat, forked edge for prying shingles and nails.
Benefits:
- Makes shingle removal faster and less tiring
- Helps protect the underlying roof structure
- Saves time versus using regular pry bars
For larger projects, invest in a manual tear-off tool or a pneumatic model for added power.
4. Utility Knife
Utility knives are essential for cutting shingles to the right size and shape. Whether you’re working with asphalt shingles, underlayment, or flashing material, a sharp utility knife ensures clean and precise cuts.
Benefits:
- Creates straight and accurate cuts
- Works for multiple materials (shingles, underlayment, tar paper)
- Easy to carry and handle
Make sure you always keep replacement blades handy, as dull blades can snag and ruin material.
5. Chalk Line Tool
A chalk line tool helps you ensure straight lines for shingle placement. This simple yet powerful tool allows you to mark straight guidelines on your roof, resulting in a professional and clean appearance. Accuracy is key when it comes to roofing, and the chalk line tool helps make it happen.
Benefits:
- Provides clear and straight guidelines
- Improves shingle alignment for a professional finish
- Easy to use, even for beginners
***Pro Tip:* Snap your chalk line before starting to install shingles to save time during the project.
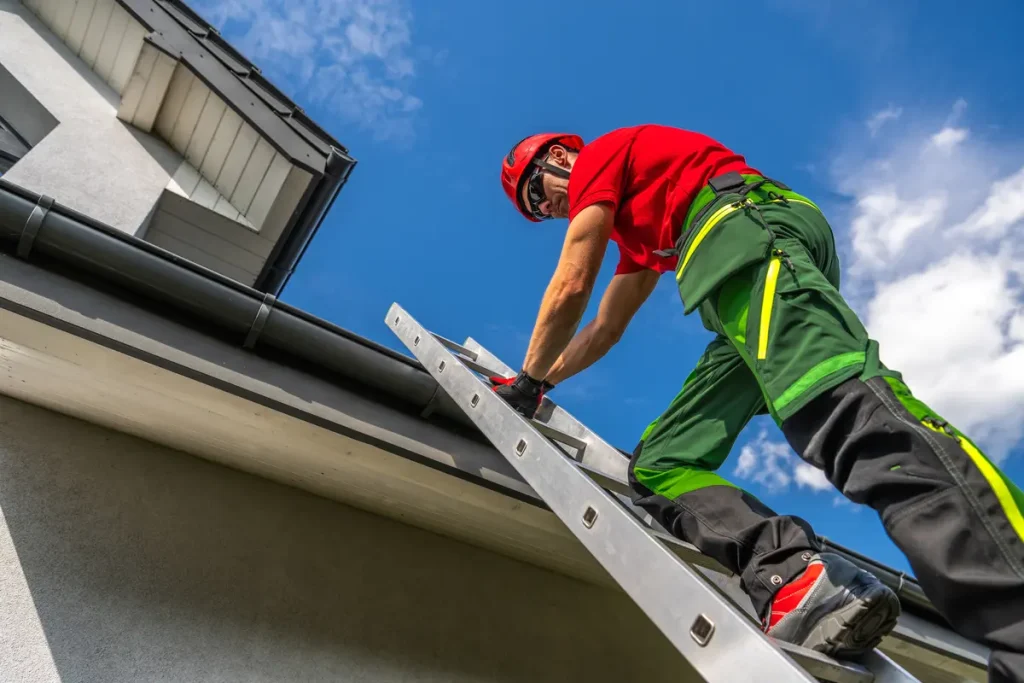
6. Roofing Harness and Safety Equipment
No list of roofing tools is complete without emphasizing safety. Working on a roof comes with inherent risks, which is why investing in a reliable roofing harness is critical. The harness secures you to an anchor point on the roof, preventing falls and ensuring peace of mind while you work.
Additional safety equipment to consider:
- Non-slip roofing shoes or boots
- Hard hats
- Protective gloves
Benefits:
- Reduces risk of serious injury
- Allows you to work confidently at heights
- Complies with safety regulations for home projects
Never skip safety measures—it’s better to take precautions than to risk injury.
7. Measuring Tools
Accurate measurements ensure that you use the right quantity of materials and maintain precision throughout your project. Essential measuring tools include:
- Tape Measure: For measuring lengths and widths. Look for one with a locking feature.
- Speed Square: Perfect for making straight and angled cuts on shingles.
Benefits:
- Reduces waste by helping you order just the right materials
- Ensures consistency and accuracy throughout your project
***Pro Tip:* Always double-check measurements before making cuts or installing shingles to avoid mistakes.
8. Roofing Ladder with Stabilizer
Getting up to and around your roof safely requires a ladder designed for this purpose. A roofing ladder comes with stabilizers that help secure it on the edge of the roof, giving you steady footing as you work. Some even have hooks to help you anchor them in place securely.
Benefits:
- Provides secure access to high or steep roofs
- Offers a steady working platform
- Minimizes risk of ladder slippage
9. Sealant and Caulking Gun
Roofing requires sealing areas like vents, chimneys, and flashing to protect your home from leaks. A high-quality caulking gun paired with a weather-resistant sealant does the job effectively.
Benefits:
- Prevents water intrusion and roof damage
- Ensures a clean, leak-proof finish
- Easy to use
Look for an environmentally friendly sealant that withstands extreme weather.
10. Broom or Roof Brush
Once you’ve completed your work, cleaning up debris like small shingle pieces, nails, and dirt is crucial. A long-handled broom or roof brush makes it easy to leave your roof in spotless condition.
Benefits:
- Helps clear debris for a clean finish
- Prevents clogging of gutters with leftover materials
- Maintains a professional-looking roof
Additional Supplies to Keep on Hand
Beyond these core tools, there are a few other supplies you should always have ready for any roofing project:
- Roofing nails
- Underlayment
- Flashing tape or sheets
- Duct tape for quick fixes
- Tar paper for waterproofing
Alongside your standard toolkit, protecting yourself while working at heights should be your top priority. Even the best tools can’t replace the security provided by a proper harness or specialized footwear. To ensure you have all the necessary gear to prevent accidents, take a look at our guide on essential roof safety equipment before you begin your project.
Things to Remember When Working on Roofing Projects
Working on a roofing project requires careful planning and attention to detail to ensure safety, efficiency, and longevity of the roof. Keeping a few key considerations in mind can help you avoid common pitfalls and achieve professional-quality results every time.
- Safety First: Always use protective gear, secure your ladder, and never work on a wet or icy roof.
- Plan Ahead: Make sure you have all your tools and materials ready before climbing up.
- Weather Check: Only work on your roof during clear, dry weather to avoid slipping or water damage.
- Inspect the Roof Deck: Before adding new shingles, check the roof deck for any rot or damage that needs repair first.
- Don’t Rush: Take your time to ensure every nail, cut, and line is done accurately.
Leave It To the Pros At McCormick Renovations
Roofing may sound intimidating, but with the right tools, knowledge, and safety measures, even beginners can successfully complete small repairs or improvements. The tools we’ve outlined in this guide are versatile, practical, and essential for any homeowner or DIY enthusiast taking on roof projects.
If you’re looking to take on a roofing project but feel unsure about where to start, McCormick Renovations is here to help. Whether you need a consultation or a professional touch, our team of experts is ready to provide you with reliable solutions.Want to learn more about maintaining your roof or tackling small home improvement projects? Contact us today or explore more helpful articles on our blog. Your dream roof is just a few steps away!


