Roof flashing is one of those unsung heroes of the construction world. It quietly does its job, protecting your home from water damage and leaks. But within the realm of roof flashing lies a critical component that often goes unnoticed: counter flashing.
Today, we’re talking all about the world of counter flashing, exploring:
- Its importance
- Signs of damage
- Repair methods
- Installation costs
- Maintenance tips
Keep reading to learn how counter flashing helps support your roof.
What is Roof Flashing?
Before we dive into counter flashing, it’s essential to understand its precursor: roof flashing. Roof flashing refers to thin pieces of metal or other materials installed at joints and seams on your roof to prevent water from seeping into the structure. The choice of flashing material is crucial for ensuring the effectiveness and durability of the roof flashing. Flashing can be found around chimneys, vents, skylights, and along roof edges, ensuring water is directed away from vulnerable areas.
What is Counter Flashing?
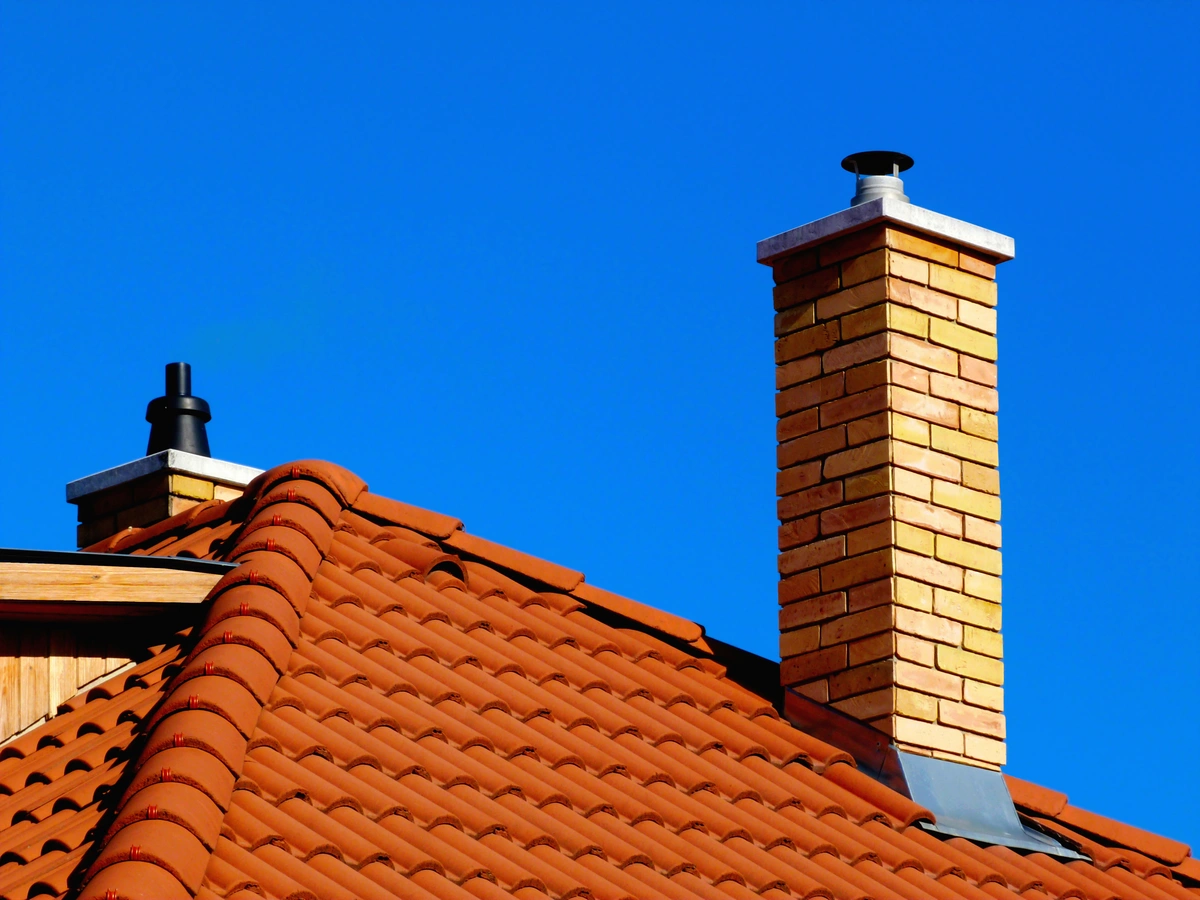
Counter flashing is a specific type of flashing that’s installed over the top of base flashing to provide an additional layer of protection. It’s typically used in situations where vertical surfaces meet the roof, such as along chimneys, walls, or dormers. Proper counter flashing is especially important for brick chimneys to prevent moisture from penetrating the masonry and causing water damage. The primary purpose of counter flashing is to create a watertight seal and prevent moisture from penetrating the roofing system.
Benefits of Proper Counter Flashing Installation
Proper installation of counter flashing is essential for maintaining the integrity of your roof. Here are some key benefits of ensuring your counter flashing is installed correctly:
- Prevention of Water Damage: Counter flashing creates a weather-resistant barrier, preventing water from entering vulnerable areas where the roof meets vertical surfaces.
- Protection of the Roof Deck: By shielding the top edge of base flashing, counter flashing prevents water from seeping into the roof deck, safeguarding the underlying structure.
- Reduced Maintenance: When counter flashing is properly installed, it minimizes the need for frequent repairs and maintenance, saving you time and money in the long run.
- Increased Durability: Properly installed counter flashing extends the lifespan of your roof by preventing water damage and reducing the risk of leaks, ensuring your home remains protected for years to come.
Investing in proper installation of counter flashing pays off by enhancing the durability and performance of your roofing system.
Types of Flashing

When it comes to roofing, different types of flashing play unique roles in keeping your home watertight. Here’s a quick rundown of the most common types:
- Base Flashing: This is the foundational layer of flashing, a waterproof membrane installed before the shingles. It extends up the side of the wall, creating a watertight seal where the roof meets the vertical structure.
- Step Flashing: This L-shaped metal piece, often made of aluminum, is placed beneath each shingle that meets a vertical wall. One side of the L-shape tucks under the shingle, while the other side attaches to the wall, guiding water away from the joint.
- Counter Flashing: Installed over the top of base flashing, counter flashing provides an extra layer of protection. Made from durable materials like metal (aluminum, copper, or stainless steel) or synthetic materials like PVC, it covers the step flashing to ensure a watertight seal.
- Cap Flashing: Used to cover the top of walls or chimneys, cap flashing provides a weather-resistant barrier, preventing water from seeping into the structure.
- Through-Wall Flashing: This type of flashing is embedded within the wall cavity and concealed by exterior siding or masonry, directing water out of the wall system.
Understanding these different types of flashing helps you appreciate how they work together to protect your roof from water damage.
Counter Flashing Materials
Choosing the right material for your counter flashing is crucial for durability and effectiveness. Here are some common materials used for counter flashing, each with its own set of benefits:
- Galvanized Steel: Known for its durability and resistance to corrosion, galvanized steel is a popular choice for counter flashing. However, it requires proper coating to prevent rust over time.
- Aluminum: Lightweight and corrosion-resistant, aluminum is easy to work with and shape to fit specific needs. It’s a practical option for many roofing projects.
- Copper: While copper is durable and visually appealing, it comes with a higher price tag and can be prone to damage. Its longevity and aesthetic appeal make it a premium choice.
- Stainless Steel: Ideal for harsh environments, stainless steel offers excellent corrosion resistance. It’s a robust option for areas exposed to extreme weather conditions.
- PVC: This synthetic material is easy to install and maintain, though it may not be as durable as metal options. PVC is a cost-effective choice for less demanding applications.
Selecting the right material for your counter flashing ensures long-lasting protection for your roof.
Why is Counter Flashing Important?

Counter flashing plays a crucial role in maintaining the integrity of your roof and preventing water damage. Without proper counter flashing, water can infiltrate the vulnerable areas where the roof meets vertical surfaces, leading to leaks, rot, and structural damage. By providing an extra barrier against moisture intrusion, counter flashing helps extend the lifespan of your roof and protects your home’s interior.
Signs of Counter Flashing Damage
Identifying damage to your counter flashing early can save you from costly repairs down the line. Here are some common signs to watch out for:
- Visible Rust or Corrosion: Over time, metal counter flashing can corrode or rust, compromising its effectiveness. Inspect your counter flashing regularly for any signs of corrosion, especially in areas exposed to moisture.
- Loose or Missing Flashing: If your counter flashing is loose or missing altogether, it’s essential to address the issue promptly. Loose flashing can allow water to seep underneath, leading to leaks and water damage.
- Water Stains on Interior Walls or Ceilings: Water stains on your interior walls or ceilings are a telltale sign of a leaking roof. While the source of the leak may not always be obvious, damaged counter flashing is a common culprit.
- Cracked or Damaged Sealant: Counter flashing is often sealed with caulk or other waterproofing materials. If the sealant becomes cracked or damaged, water can penetrate the flashing and cause leaks.
How to Repair Your Counter Flashing: 5 Steps

Repairing damaged counter flashing is a task best left to professionals, but if you’re comfortable working on your roof, here are some basic steps to follow:
1) Inspect the Damage:
Start by thoroughly inspecting the counter flashing for any signs of damage, such as rust, corrosion, or loose sections.
2) Remove Old Flashing:
Carefully remove any old or damaged counter flashing using a pry bar or similar tool. Be sure to take precautions to avoid damaging the surrounding roofing materials.
3) Clean the Area:
Once the old flashing has been removed, clean the area thoroughly to remove any debris, dirt, or old sealant.
4) Install New Flashing:
Cut a piece of new counter flashing to the appropriate size and shape, ensuring it overlaps the base flashing by at least a few inches. Counter flashing is often made from thin material like galvanized steel, which is effective in directing water away from vulnerable areas. Secure the new flashing in place using roofing nails or screws, making sure to seal all joints and seams with waterproof caulk or sealant.
5) Test for Leaks:
After installing the new counter flashing, test for leaks by spraying the area with water from a hose. If any leaks are detected, reseal the affected areas and test again until the problem is resolved.
How Much Does it Cost to Install Counter Flashing?

The cost of installing counter flashing can vary depending on several factors, including the size and complexity of the job, the materials used, and the contractor’s rates. The cost can also be influenced by the need for additional tasks such as installing step flashing, which is crucial for weather protection at the roof/wall intersection. On average, homeowners can expect to pay anywhere from $200 to $600 for professional counter flashing installation. However, this cost can increase significantly for larger or more complex projects.
It’s important to note that while DIY installation may seem like a cost-effective option, improper installation can lead to costly repairs down the line. Hiring a professional contractor ensures that the job is done correctly and that your roof is properly protected against water damage.
Industry Standards and Codes
To ensure the safety and effectiveness of counter flashing, it’s important to adhere to industry standards and codes. The National Roofing Contractors Association (NRCA) provides detailed guidelines for counter flashing installation, including:
- Detail ASPH-2: This standard requires the vertical leg of step flashing to be 4 inches tall, ensuring adequate protection against water intrusion.
- Detail ASPH-4: This guideline offers a detailed view of the eave, clearly depicting the proper integration between the metal drip edge and the roof underlayment.
Additionally, the International Residential Code (IRC) outlines specific requirements for counter flashing installation:
- Section R703.7.3: This section mandates the installation of two layers of water-resistive barrier behind stucco, enhancing moisture protection.
- Section R1003.10.1: This code specifies that through-flashing and weep holes must be installed as required by Section R703, ensuring proper water drainage.
Adhering to these standards and codes ensures that your counter flashing is installed correctly, providing reliable protection for your home.
How to Maintain Your Counter Flashing
Regular maintenance is key to ensuring that your counter flashing remains in good condition and continues to protect your roof effectively. Here are some maintenance tips to keep in mind:
- Inspect Regularly: Schedule regular inspections of your counter flashing to check for signs of damage, rust, or corrosion. Regular inspections should include checking the roof surface to ensure that the flashing is properly aligned and sealed. Catching issues early can prevent more extensive damage and costly repairs.
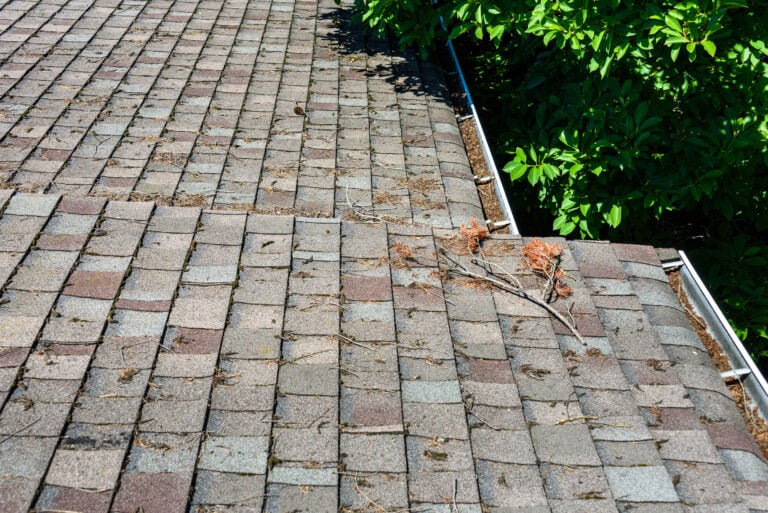
- Clean Gutters and Downspouts: Clogged gutters and downspouts can cause water to back up onto your roof, increasing the risk of leaks and water damage. Keep your gutters clean and free of debris to prevent water from pooling around your counter flashing.
- Trim Overhanging Branches: Overhanging branches can rub against your roof and counter flashing, causing damage over time. Trim back any branches that come into contact with your roof to prevent unnecessary wear and tear.
- Seal Any Gaps or Cracks: If you notice any gaps or cracks in your counter flashing or sealant, repair them promptly to prevent water from seeping underneath.
- Schedule Professional Inspections: In addition to regular DIY inspections, it’s a good idea to schedule professional roof inspections at least once a year. A qualified roofer can identify any potential issues early on and recommend the necessary repairs or maintenance.
DIY vs. Professional Installation
While it might be tempting to tackle counter flashing installation as a DIY project, hiring a professional roofing contractor offers several advantages:
- Expertise: Professional roofing contractors have the training and experience to install counter flashing correctly, ensuring a watertight seal.
- Safety: Roofing work can be hazardous. Professional installation reduces the risk of accidents and injuries, providing peace of mind.
- Warranty: Many professional installations come with a warranty, offering additional protection and assurance for homeowners.
- Compliance: Professional contractors ensure that the installation complies with industry standards and codes, avoiding potential issues down the line.
Opting for professional installation of counter flashing ensures proper installation, safety, and compliance, ultimately protecting your home from water damage and leaks.
Get Your Counter Flashing Properly Installed
Counter flashing may not be the most glamorous aspect of roofing, but it plays a critical role in protecting your home from water damage and leaks. By understanding the importance of counter flashing, recognizing the signs of damage, and following proper maintenance procedures, you can ensure that your roof remains watertight and secure for years to come. Whether you’re repairing existing counter flashing or considering a new installation, investing in quality materials and professional installation is essential for long-term durability and peace of mind.When you’re ready to take care of your counter flashing, contact McCormick Renovations!