How to shingle a roof is one of the most common questions homeowners ask when dealing with roof repairs or full roof replacement. Your roof protects your home from weather, moisture, and structural damage, making proper shingle installation critical for long term performance. Understanding the process, warning signs, and best practices helps homeowners make informed decisions.
Before diving into the full guide, keep these key points in mind:
- Proper installation is essential: Incorrect shingling can lead to leaks and premature failure.
- Timing matters: Replacing damaged shingles early prevents costly repairs.
- Professional work adds value: Quality installation improves durability and lifespan.
Signs Your Roof Shingles Need Replacement
Recognizing early warning signs is critical when learning how to shingle a roof or deciding when replacement is necessary. Damaged shingles can compromise your roof’s ability to protect your home and lead to more serious structural issues.
Understanding these signs helps homeowners act before problems escalate.
Visible Damage and Wear
Visible damage is one of the most obvious indicators that your shingles need attention. Cracked, curling, or missing shingles reduce your roof’s ability to shed water effectively and increase the risk of leaks.
Regular visual inspections from the ground or attic can help identify these issues early. Addressing visible damage promptly helps maintain the integrity of your roofing system.
- Cracked shingles: Indicate aging or weather damage.
- Curling edges: Signal deterioration and reduced performance.
- Missing shingles: Expose the roof to water intrusion.
Interior Warning Signs of Roof Damage
Interior signs often indicate that shingle damage has already allowed moisture into your home. Water stains, mold growth, or damp insulation can signal underlying roofing problems.
These issues require immediate attention to prevent further damage to ceilings, walls, and structural components.
- Water stains: Appear on ceilings or walls from leaks.
- Mold growth: Indicates ongoing moisture issues.
- Attic dampness: Suggests compromised roofing protection.
When to Replace Your Shingle Roof
Knowing when to replace your roof is just as important as knowing how to shingle a roof. Delaying replacement can lead to higher repair costs and more extensive damage over time.
Evaluating these factors helps homeowners determine the right time for action.
Age and Lifespan of Shingles
Asphalt shingles typically last between 20 and 30 years depending on installation quality and environmental conditions. As your roof approaches this age range, performance begins to decline even if visible damage is limited.
Planning replacement based on age helps prevent unexpected failures.
- 20 to 30 year lifespan: Standard for asphalt shingles.
- Performance decline: Older shingles lose effectiveness.
- Preventative replacement: Reduces risk of sudden damage.
Frequent Repairs and Storm Damage
If your roof requires frequent repairs, replacement may be the more cost effective solution. Storm damage from wind, hail, or debris can also accelerate deterioration and compromise shingle performance.
Repeated repairs often indicate deeper issues that require a full solution.
- Recurring leaks: Signal widespread roofing issues.
- Storm damage: Weakens shingle structure.
- Cost efficiency: Replacement reduces long term expenses.
DIY vs Professional Roof Shingle Installation
Homeowners researching how to shingle a roof often consider whether to complete the project themselves or hire a professional. Both options have advantages and risks depending on experience and project complexity.
Understanding these differences helps guide the right decision.
DIY Roof Shingle Installation
DIY roof shingling can reduce upfront costs but requires proper knowledge, tools, and safety precautions. Roofing work involves working at heights and handling materials correctly to avoid installation errors.
Without experience, mistakes can lead to costly repairs or safety hazards.
- Lower upfront cost: Saves on labor expenses.
- Skill requirement: Requires knowledge of roofing techniques.
- Safety risks: Working at height increases danger.
Benefits of Hiring a Professional
Professional roofing contractors bring experience, efficiency, and proper installation techniques to every project. They can identify underlying issues and ensure the roof is installed according to manufacturer standards.
This approach provides long term reliability and peace of mind.
- Expert installation: Ensures proper technique and durability.
- Safety compliance: Reduces risk of accidents.
- Warranty protection: Many warranties require professional installation.
5 Simple Steps To Shingle A Roof
Learning how to shingle a roof involves following a structured process that ensures durability and proper water protection. Each step plays a critical role in the overall performance of your roofing system.
1. Prepare the Roof Surface
Proper preparation is the foundation of any successful roofing project. Removing old shingles and inspecting the roof deck ensures a clean and stable surface for installation.
Any damaged decking should be repaired before proceeding to prevent future issues.
- Old material removal: Clears the surface for new shingles.
- Deck inspection: Identifies structural damage.
- Surface preparation: Ensures proper installation base.
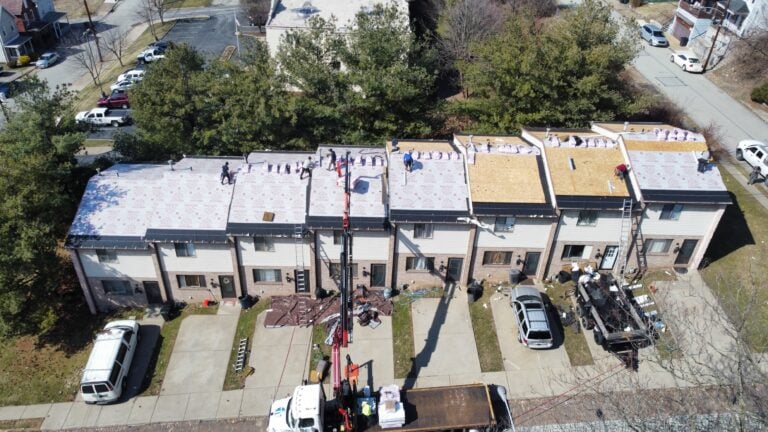
2. Install Underlayment
Underlayment acts as a protective barrier between the shingles and the roof deck. It helps prevent moisture infiltration and adds an extra layer of defense against leaks.
Proper installation of underlayment is essential for long term performance.
- Moisture protection: Prevents water from reaching decking.
- Secondary barrier: Adds extra leak protection.
- Installation accuracy: Ensures full coverage.
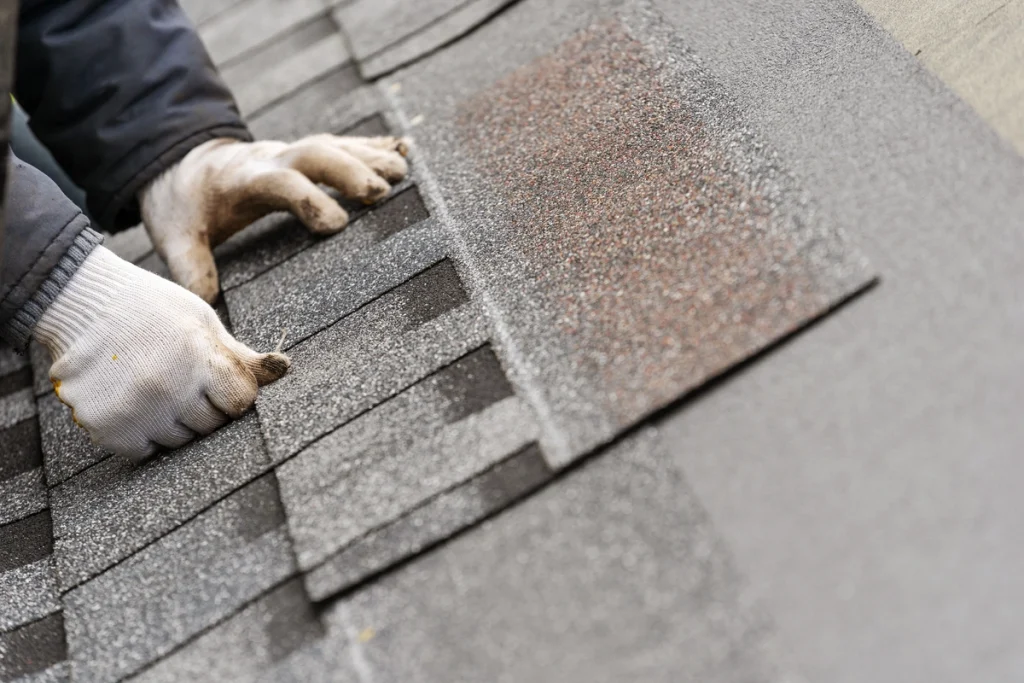
3. Begin Shingle Installation
Shingles should be installed starting at the bottom edge of the roof and working upward. Each row must overlap correctly to allow water to flow off the roof efficiently.
Proper alignment is critical to prevent gaps and ensure durability.
- Bottom up installation: Promotes proper water runoff.
- Consistent overlap: Prevents water intrusion.
- Alignment accuracy: Ensures clean appearance.
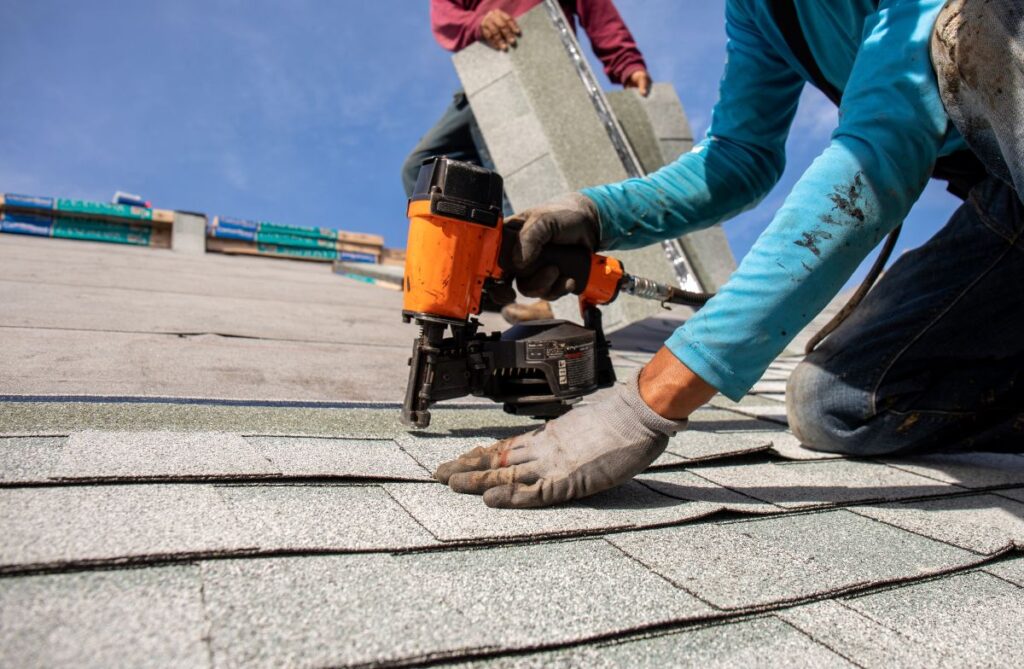
4. Secure with Proper Fasteners
Using the correct fasteners and placement is essential for keeping shingles in place during wind and weather events. Manufacturer guidelines should always be followed.
Improper fastening can lead to shingle failure and reduced lifespan.
- Correct nail placement: Ensures secure attachment.
- Wind resistance: Prevents shingle uplift.
- Manufacturer compliance: Maintains warranty validity.
5. Finish and Seal the Roof
The final step includes trimming excess materials, installing flashing, and sealing all edges. This ensures the roof is fully protected against water intrusion and environmental exposure.
A thorough final inspection confirms proper installation.
- Edge sealing: Prevents water penetration.
- Flashing installation: Protects vulnerable areas.
- Final inspection: Ensures quality and completeness.
Roof Replacement Cost and Budget Considerations
Understanding the cost of roof replacement helps homeowners plan effectively when learning how to shingle a roof. Several factors influence total project cost, including materials, labor, and roof complexity.
Key Cost Factors
Roof replacement cost varies depending on project size and material selection. Additional components such as underlayment and ventilation also affect pricing.
Planning for these variables helps avoid unexpected expenses.
- Material selection: Higher quality shingles increase cost.
- Labor complexity: Steep or complex roofs require more work.
- Additional components: Flashing and ventilation add to total cost.
Long Term Value of Professional Installation
While professional installation may cost more upfront, it often provides better long term value through improved durability and reduced maintenance needs.
Investing in quality installation helps prevent future repairs.
- Extended lifespan: Proper installation improves durability.
- Reduced repairs: Fewer issues over time.
- Warranty coverage: Protects your investment.
Roof Maintenance Tips to Extend Shingle Lifespan
Proper maintenance is essential for maximizing the lifespan of your shingles after installation. Regular care helps prevent damage and maintain performance.
Routine Inspections and Cleaning
Annual inspections help identify issues early and keep your roof in good condition. Cleaning debris from gutters and roof surfaces prevents moisture buildup.
Consistent maintenance supports long term durability.
- Annual inspections: Detect early signs of damage.
- Debris removal: Prevents water buildup.
- Gutter cleaning: Supports proper drainage.
Preventative Maintenance Strategies
Preventative maintenance helps reduce the likelihood of major repairs and extends the life of your roof. Addressing small issues early prevents them from becoming larger problems.
Professional maintenance services can provide additional support.
- Early repairs: Prevent small issues from worsening.
- Moss removal: Reduces moisture retention.
- Professional maintenance: Ensures long term performance.
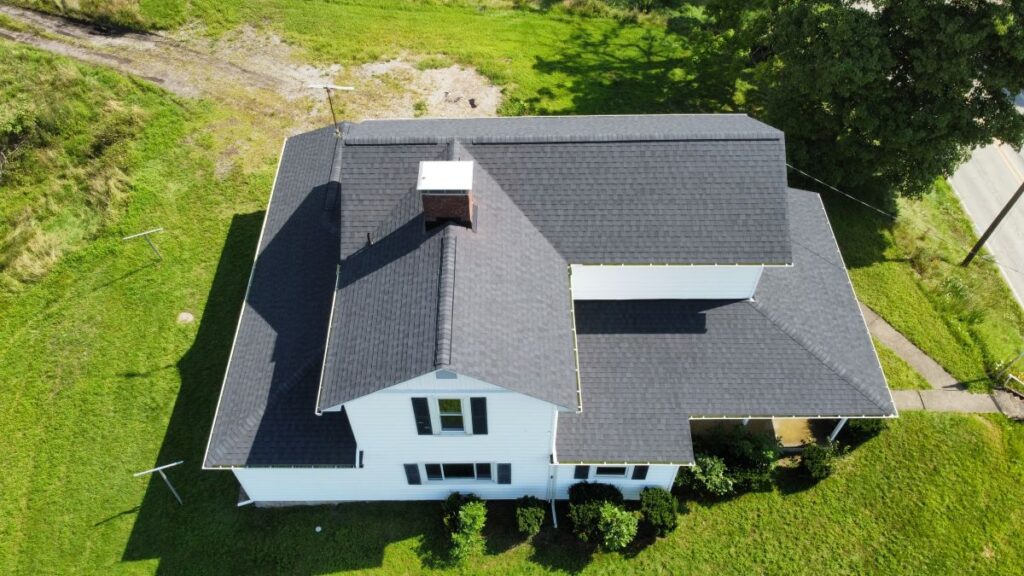
Protecting Your Home With Proper Roof Shingling
Understanding how to shingle a roof helps homeowners recognize the importance of proper installation, maintenance, and material selection. A well installed roof protects your home, improves energy efficiency, and enhances overall value.
McCormick Renovations brings decades of roofing experience, detailed inspections, and proven installation methods to every project. Homeowners benefit from expert guidance, high quality materials, and reliable workmanship. If you are considering roof replacement or need professional help with shingle installation, contact McCormick Renovations for expert support and dependable results.